

Hey there! My mom has been at it again y'all! She made another quilt coat in a completely different style. I wish I was brave enough to tackle garment sewing, but I'm just not. So, without further delay I'll pass it over to her for some tips on how she created this masterpiece.
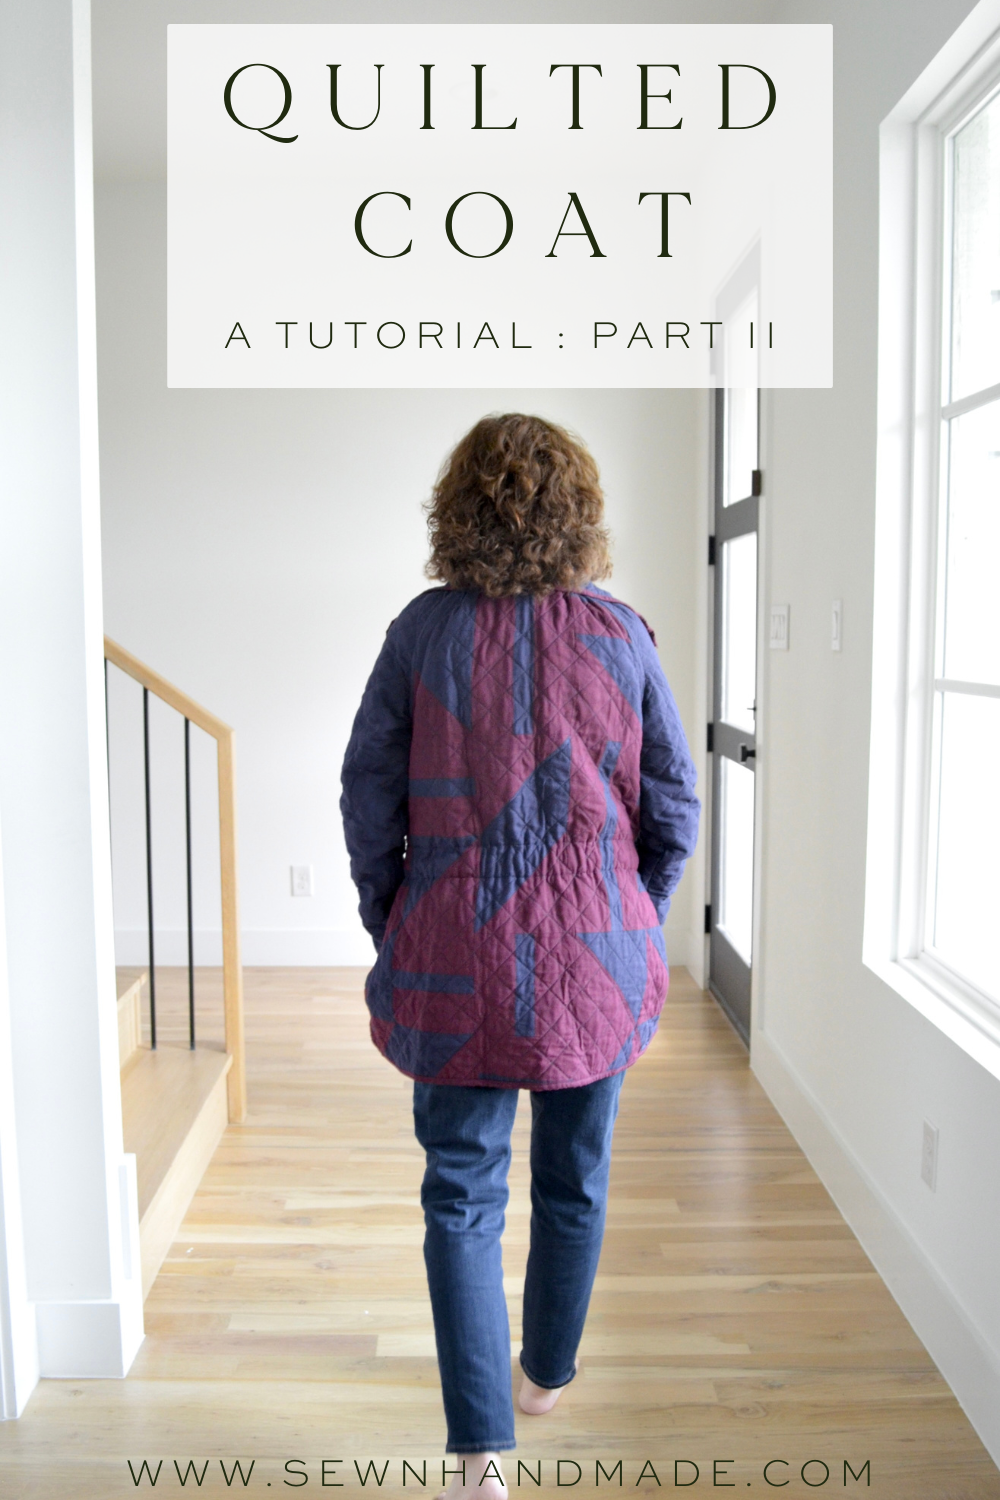
Hello! This is Janette Steinheimer aka Amy's mom! I knew I wanted to make another quilt coat after making my first one for Amy, but I wasn't sure I wanted the same style. I decided I wanted to make a shorter coat that could be worn more often. I found Sewaholic pattern #1103 (affiliate link) and knew it was exactly what I was looking for!
Once I selected the coat pattern to make I selected the Playroom Quilt pattern because of the small to medium block designs. The size of the blocks shows off the pattern without being too busy or losing the overall effect. I decided to only use the quilt pattern on the front and back of the coat. The sleeves and collar would be solid fabric. The pattern has an option for a hood that tucks into the collar but I decided this would be too bulky and left if off for this jacket.

Next, I identified which pattern pieces of the coat would be made with the quilt pattern. After measuring the pattern pieces I used a printed copy of the quilt pattern to highlight the areas of the quilt to use for the coat pattern pieces, allowing extra space around the pattern (about 2 - 3 inches).

I assembled rectangular sections of the quilt according to the quilt pattern directions for the front, sides and the back of the jacket. Be sure to flip the front pattern piece to cut a right and left side and allow for the double sized back since the back piece is cut on the fold.

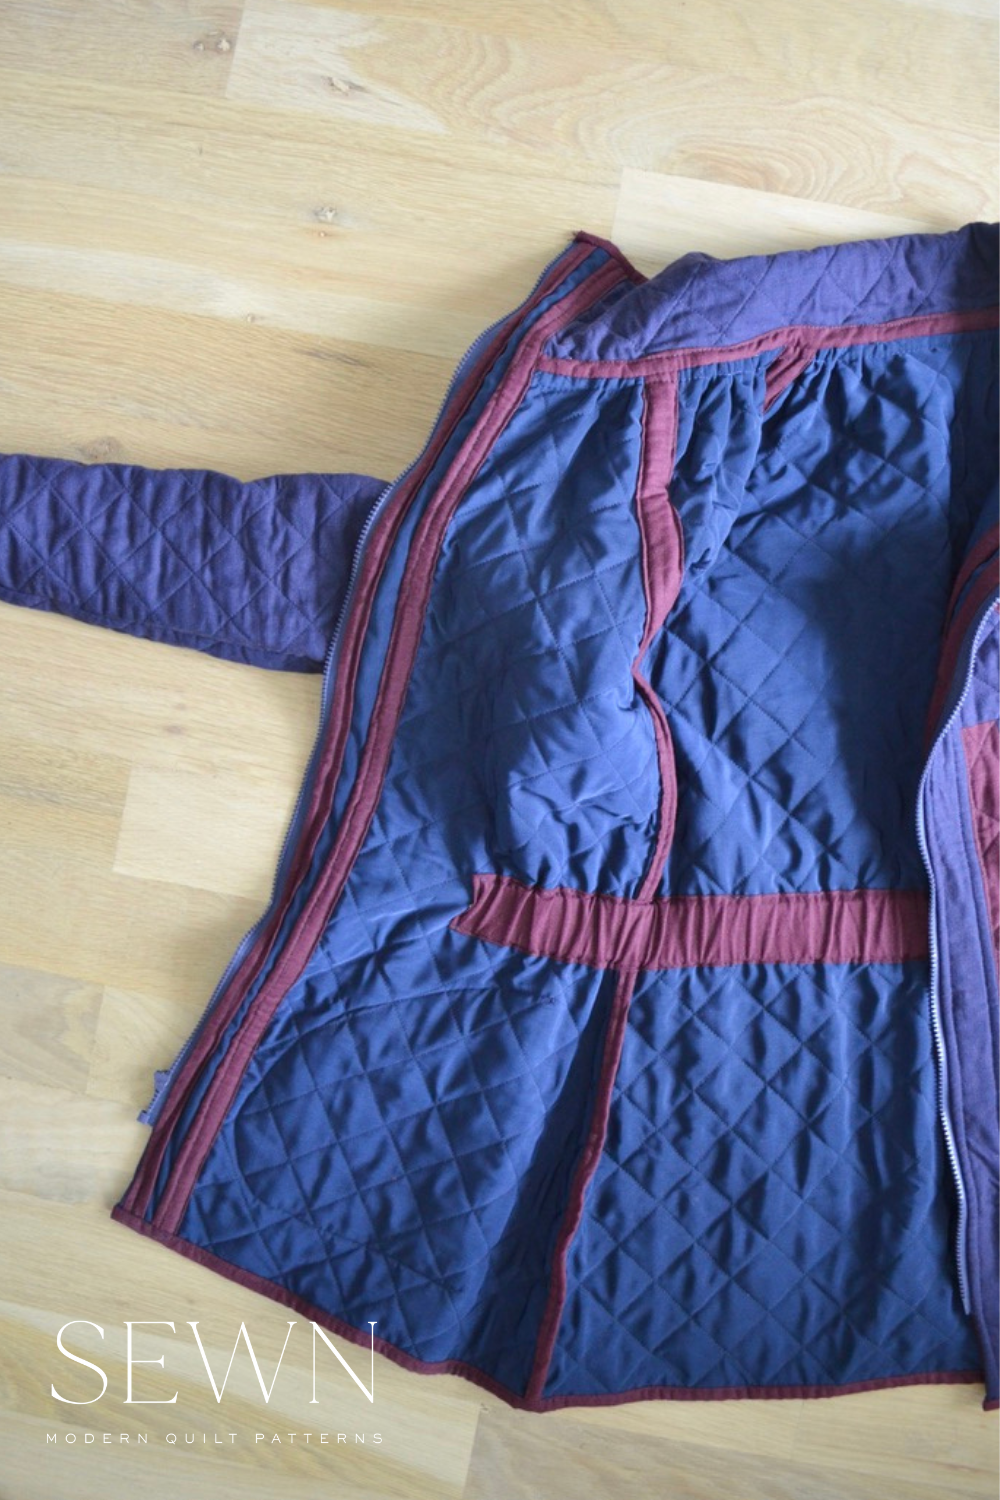
Before quilting any of the pieces - I had to decide whether to line the jacket or quilt the lining to the quilt top pieces. For this jacket I decided to quilt the lining fabric to the top quilt pattern (batting included, just as you would make a quilt sandwich). An alternative would be to quilt the quilt pattern top to muslin and sew a lining to mirror the outer jacket. I used batting but a flannel could be used to make a lighter weight jacket. My point is there are a lot of options here, but ultimately I think quilting the lining and the quilt pieces together made for a cleaner look, easier assembly and a less bulky seam. I chose a simple diagonal grid for the quilted pattern.

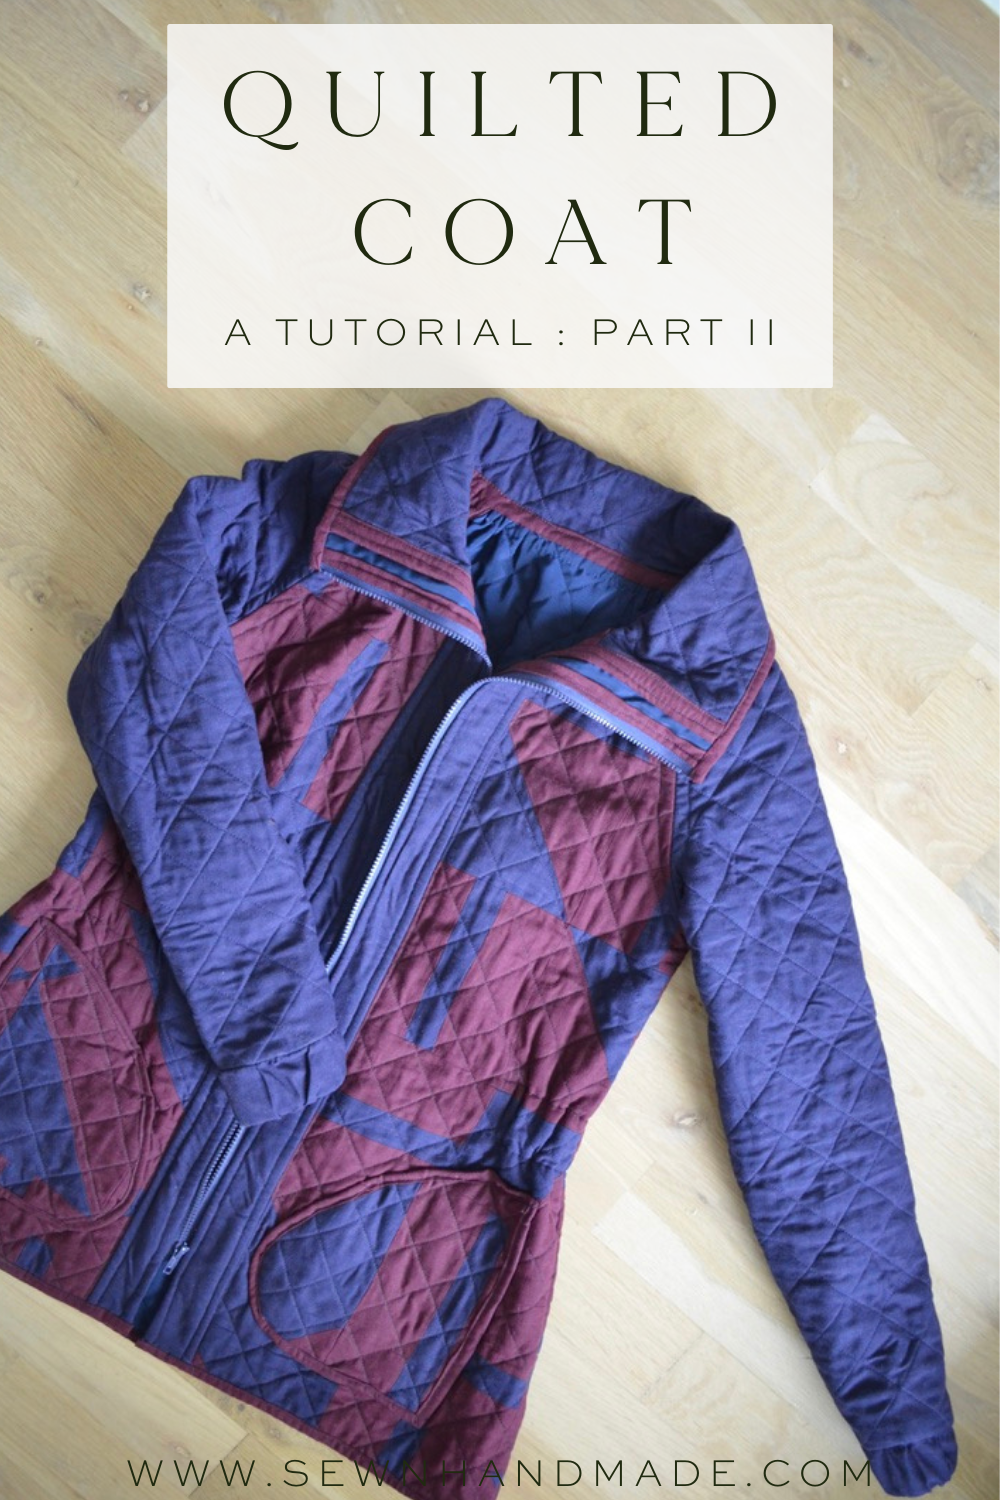
Showing the finished product here so you can see the quilting is on both the exterior and interior of the jacket.
Once the sections for the pattern pieces were quilted I cut and assembled the jacket according to the coat instructions. The pattern called for pockets set in the side seams. I used scraps of the quilted sections to make pockets for the outside instead!

Since the lining was quilted to the quilt top the seam allowances were exposed inside the jacket. I used 2 inch strips of the coat fabric to make a bias tape to cover the seams. I folded each side over 1/4" and top stitched over the seam allowance pressed open. I did this as I finished each seam. Prepackaged bias tape could be used here instead. I used the same fabric that finished the seams to make a casing at the waistband for the elastic inside the jacket.
The jacket pattern called for a separating zipper. It was set into a placket down the middle of the jacket on both the front side pieces. For this area I did not quilt the placket, I simply followed the directions for inserting the zipper.

Finally, the cuffs. They required a wide piece of elastic and were gathered at the seam where they connect to the sleeve. This seemed to be very bulky so I did not quilt the cuff fabric either.

I want to see the quilt coat you make! Share it with us on Instagram, so we can celebrate together!

You might also enjoy reading:
Modern Quilt Coat (First Version)
Eight at a Time Half Square Triangles
Quilted Skirt & Jumpsuit
Oh my goodness your coat is absolutely gorgeous and you did such a beautiful job. . In the 70s I took tailoring and made all of my husband suits, but I haven’t made clothes since the 90s. I would love to make a coat like that but I don’t think that I could do anywhere near the wonderful job you did. I would’ve never known it was not purchased if you hadn’t posted. Beautiful!
Thank you Janette & Amy, I am preparing to make my first quilted coat and your experiences have been so helpful and inspiring to me. I love your choice of the Playroom pattern for this coat!