

Some of the links below are affiliate links, meaning, at no additional cost to you, I may earn a small commission from the sale if you click through and purchase.
Today I have a super special guest blogger - Janette Steinheimer (aka Mom). She made me the most cozy quilted coat using the Living Room Quilt pattern. Before I pass it over to her I have to tell you all - SHE is the one that taught my sister and I to quilt. Everything you see here on this website is because of her and the skills she has passed on to us. Also her tutorial assumes you have some knowledge of garment sewing and working with those types of patterns. Enjoy!
Hello!
How fun to be a guest blogger – my first blog post ever!
So here we go…my 2021 New Year’s Resolution was to make two garments. When I was younger I made many of my own clothes with my mom and grandmother’s supervision. Then I made the occasional Halloween costume for my kids. Garment sewing faded to the background as I discovered the world of quilting through a dear friend. Now, I have been a quilter for many years but I wanted a new challenge in my sewing life.
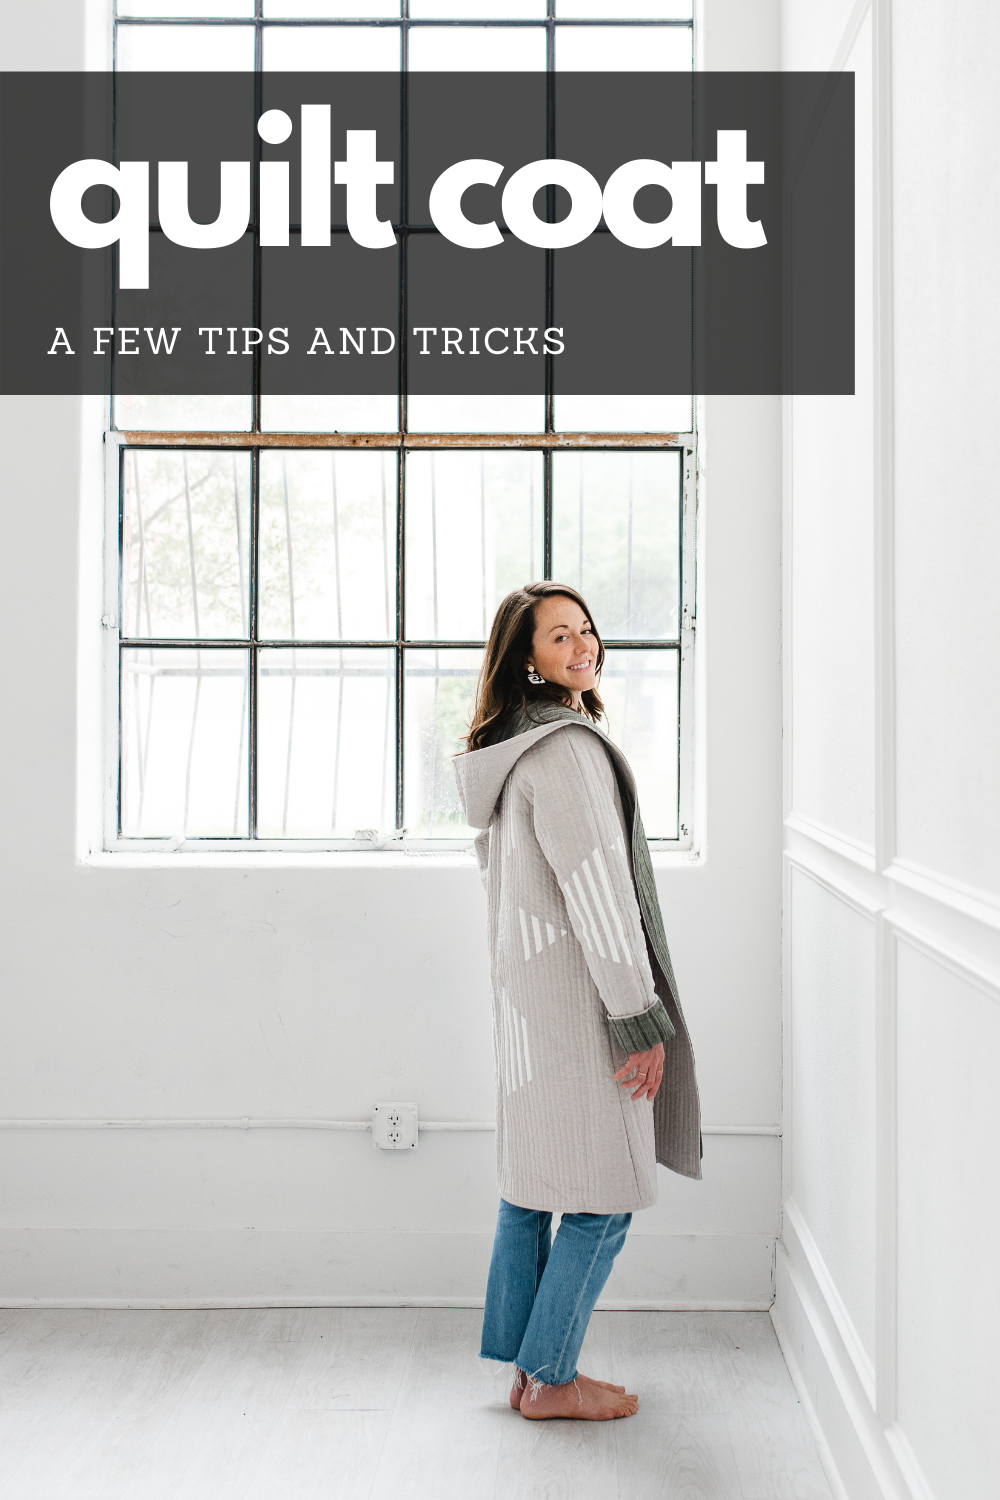
The quilted coat was the perfect combination and a no brainer since my daughter is a fabulous quilt designer with tons of patterns to choose from! There are many quilt coats out there with differing instructions. I'll refer to those below - but these are my tips I found to be helpful along the way. Let's get started!
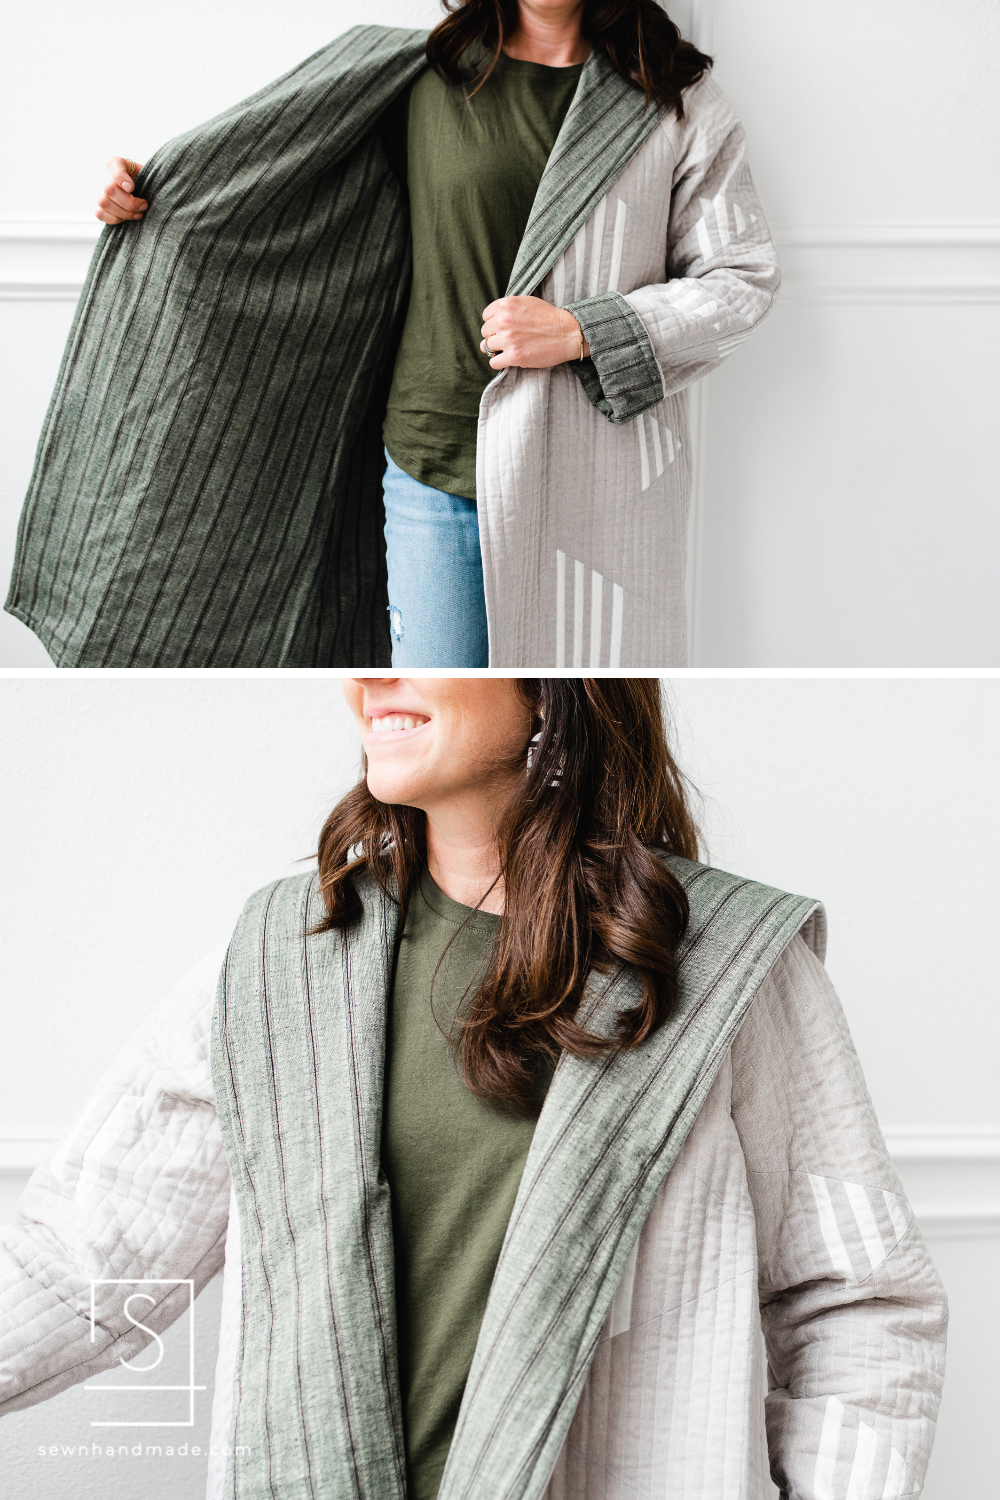
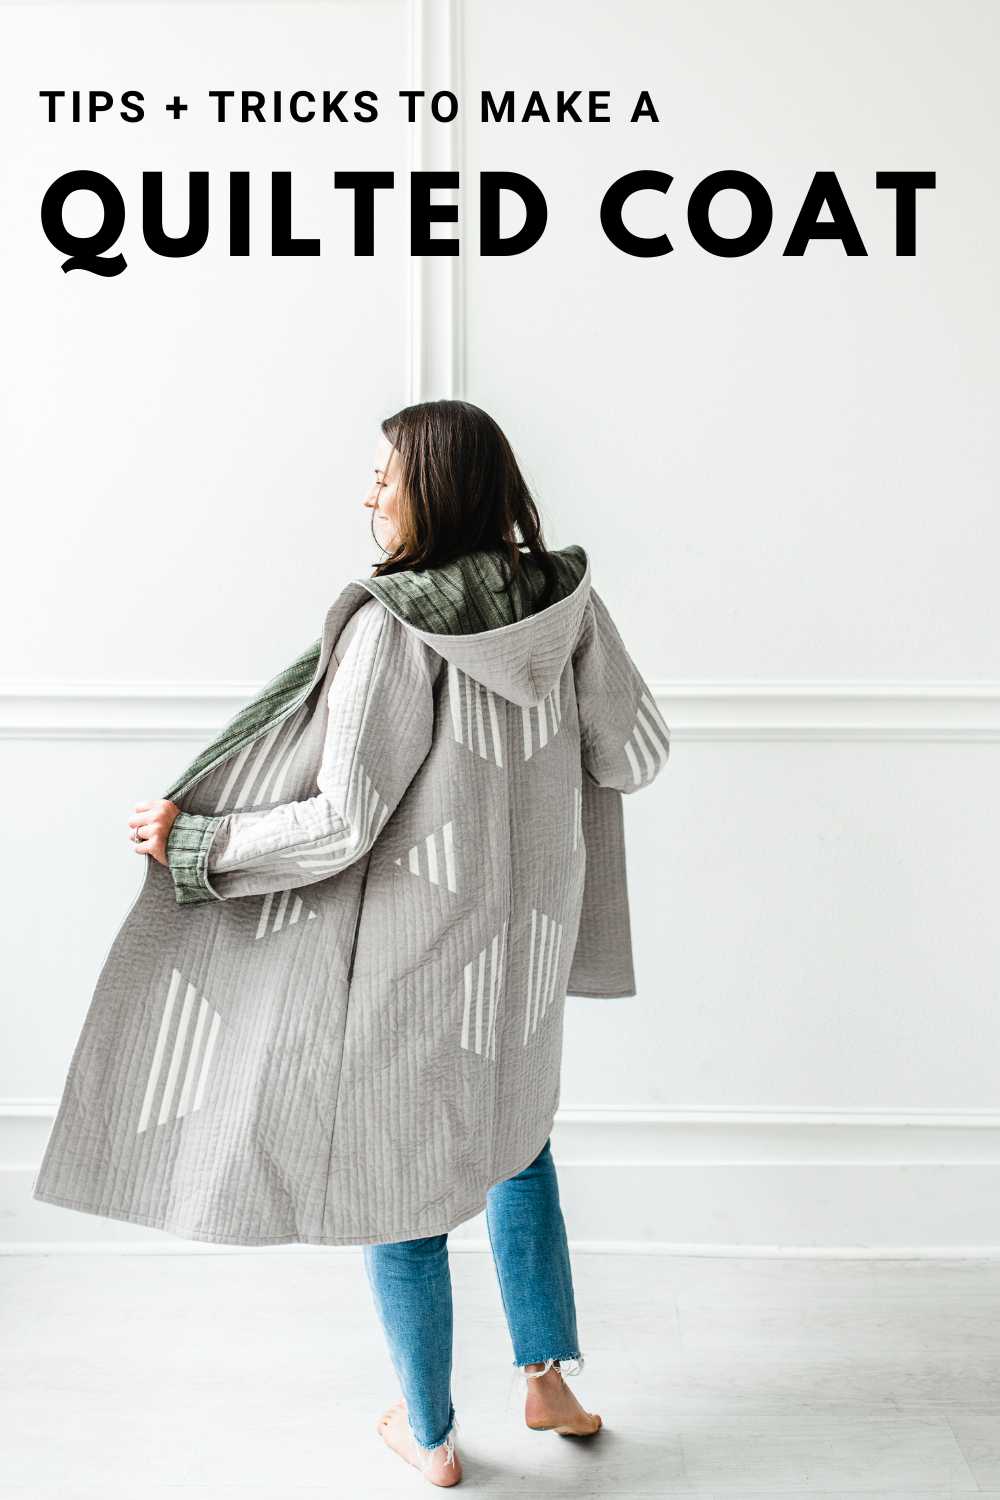
First select the coat/jacket pattern, quilt pattern and fabric. The jacket pattern or the quilt pattern you select might influence your choice of the other. This New Look jacket pattern had large pieces and worked well for the Living Room Quilt Pattern because of the large scale design. This coat pattern did not include instructions for a lining and I wanted to add one to cover the seams inside and make it more cozy. (More on that later!)

Fabric Selections: (Main) Robert Kaufman Essex Linen in Heather, (Stripes) Kona Cotton snow, (Lining) Broad Stripe Woven
To ensure proper fitting I made a sample of the jacket from muslin and marked it up where changes needed to be made (longer sleeves, shorter hem, etc.). Then the sample was used to determine where to place the primary designs of the quilt pattern on the pieces of the jacket.


Looking through the muslin sample to see the side front coat piece for design placement.

Looking through the muslin sample at the back of the coat to see design placement. (Coat pieces will be on the fold.)

Comparing the quilt design to the sleeve on the coat for design placement. You'll see as the coat came together we changed the design placement on the sleeve due to the seams.

Now, let's sew!
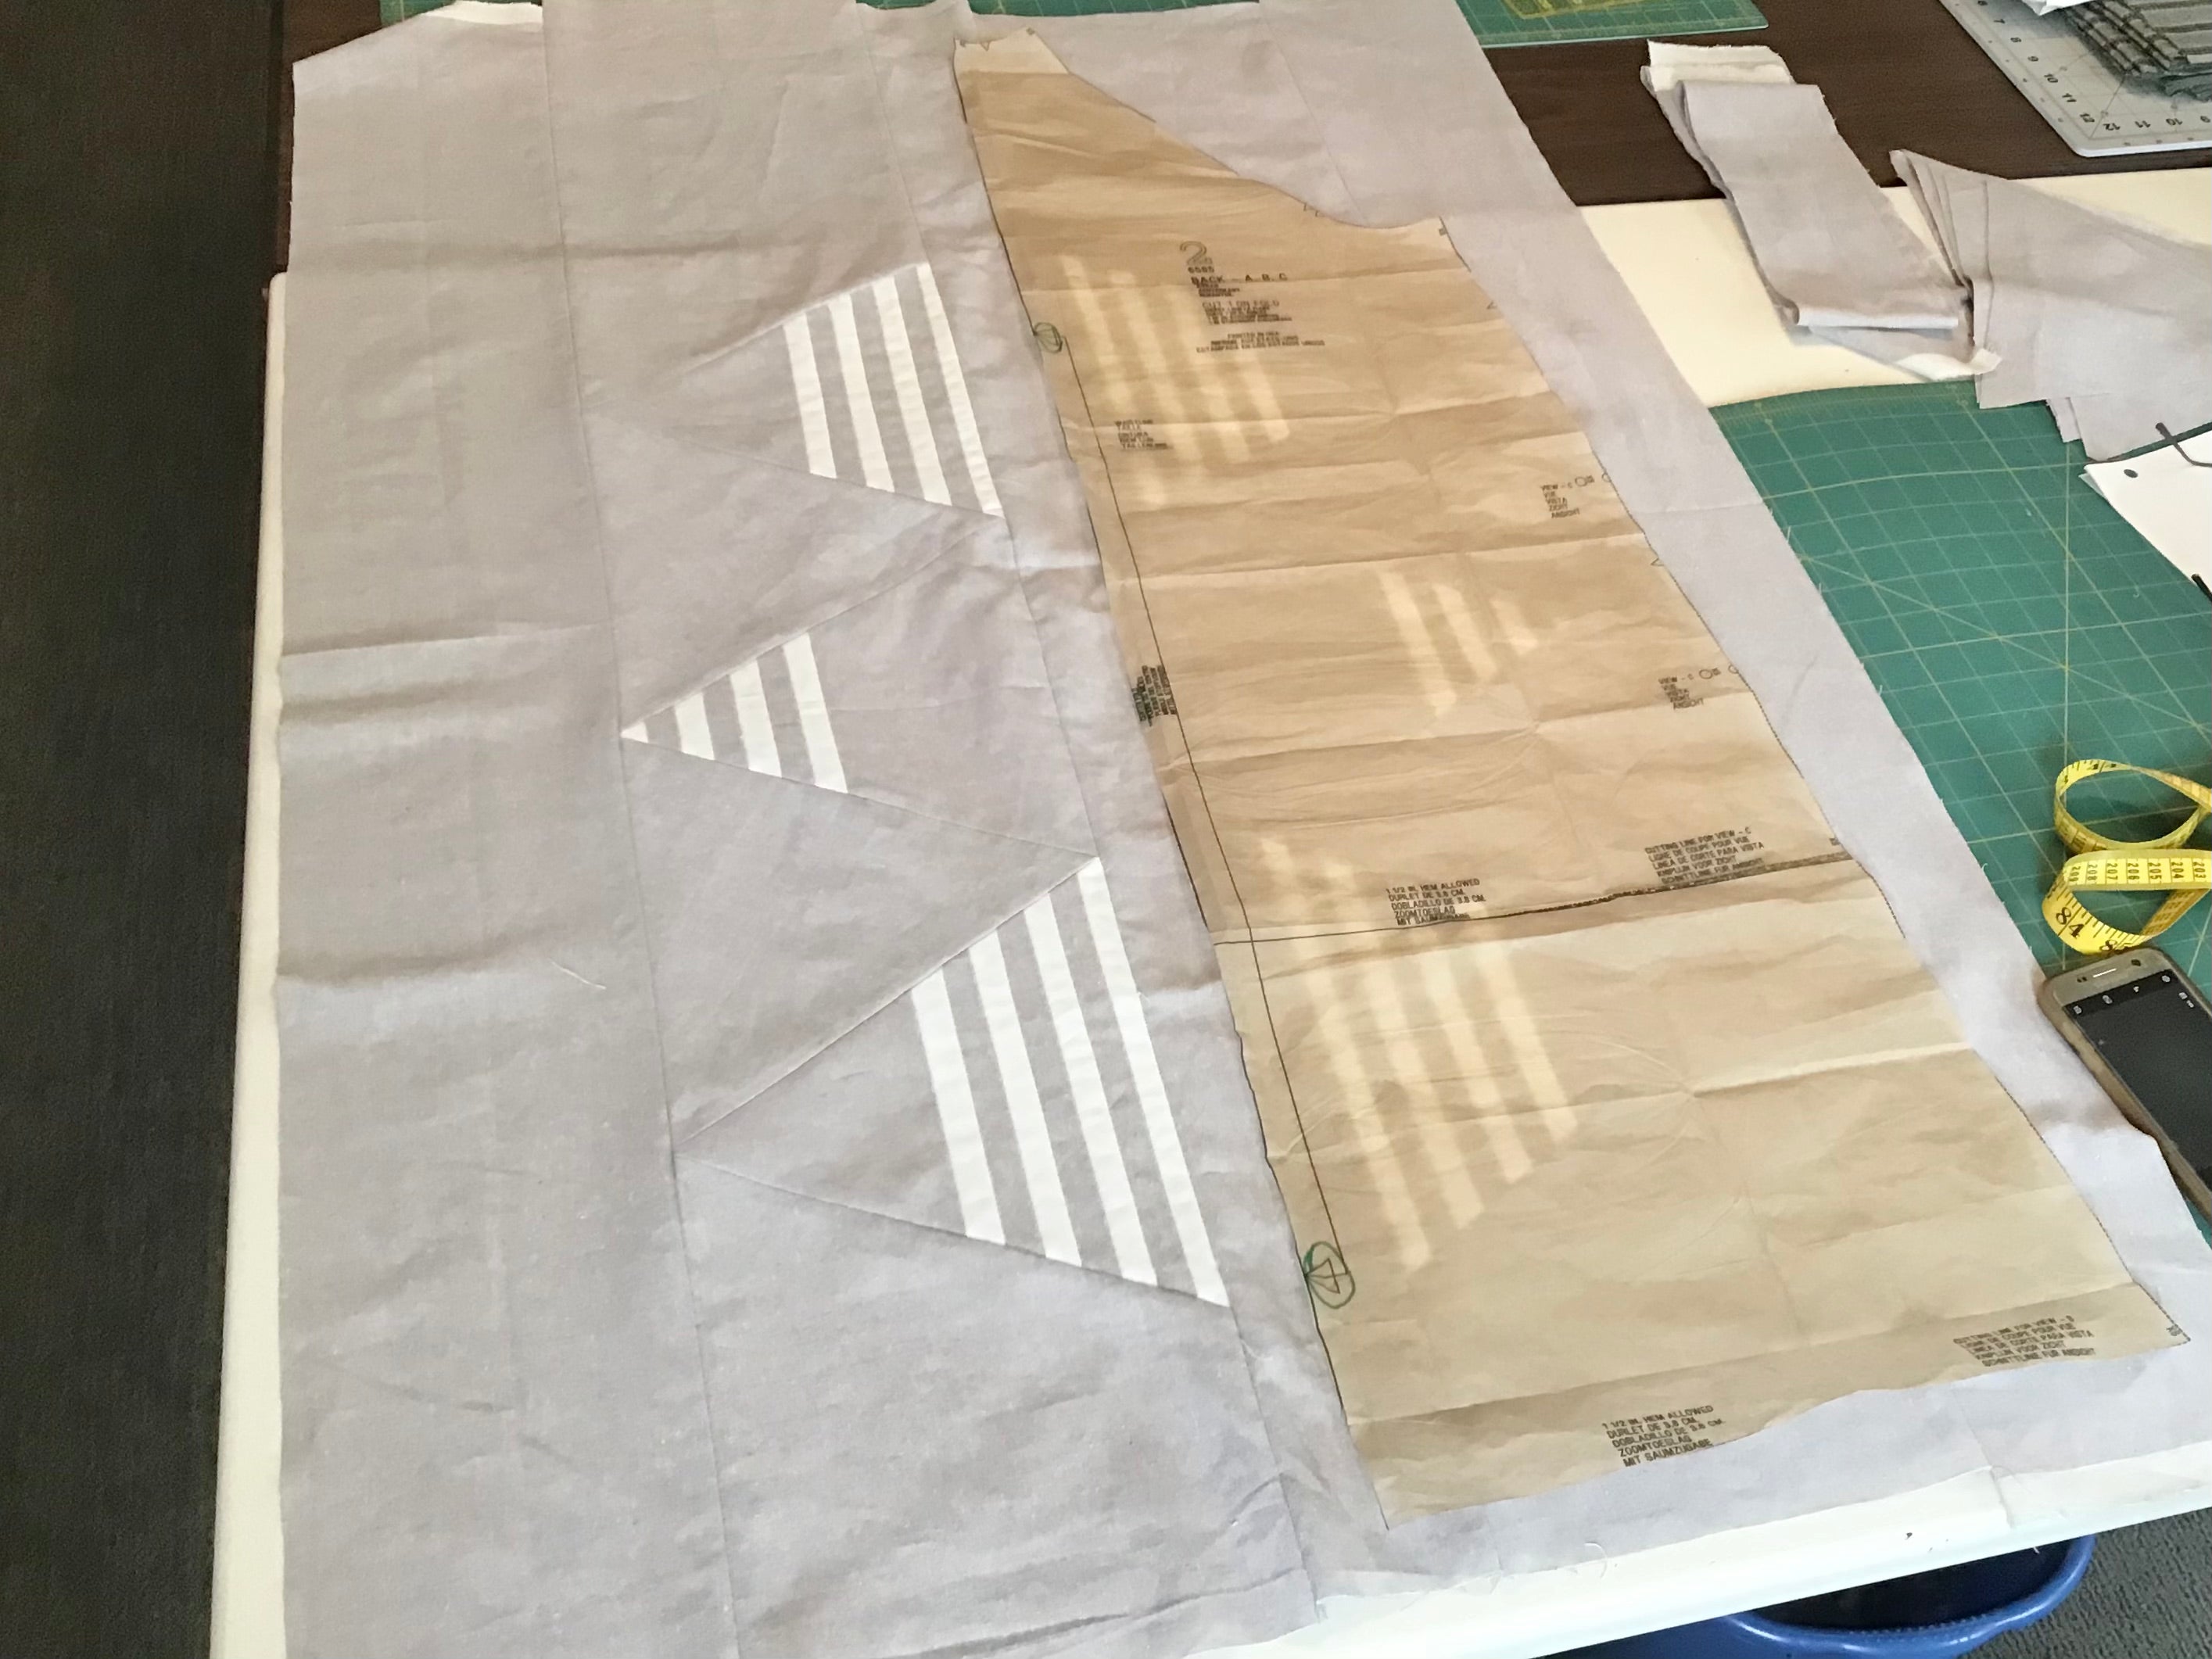
Measure the size of each pattern piece and give yourself about 3 – 4 inches of additional width and length all around. Don’t forget to add any adjustments you made from the muslin sample! Following the directions from the quilting pattern, I sewed together the primary design. Before sewing the quilt triangles together I centered them under the tissue pattern piece from the coat pattern. Remember to flip the pattern for the right and left side of the jacket so they mirror each other!

Quick Note: I repeated the step multiple times after each step, before example before sewing the triangles together, then after sewing the triangle together I laid it under the tissue paper coat pattern piece again, etc. I did this with each quilt pattern piece to make sure everything aligned where it was supposed to be.

Adjusting the quilt design for the back of the coat (on the fold).

The sleeves of this jacket pattern were in two pieces – a front sleeve and a back sleeve. We adjusted the placement of the quilt design so that there was a design on the front and the back of the sleeve since there was a seam down the center.

I even wrapped the quilt pieces around the muslin sample to make sure they were going to land were I wanted them.
After sewing the triangle blocks together I had to extend the rows to fill in the size of the pattern pieces. Instead of the final triangle in the blocks I extended the rows with 8 inch strips with a 60 degree seam at the end triangle. If needed I would also add a 4 – 6 inch sashing to either side of the row to make sure the fabric covered the pattern piece.
Quick Note: This was another time when I compared the tissue pattern at each addition to make sure I had enough coverage.

Both sleeves showing the extra widths added to the triangle rows.


Front coat pieces – right and left side - with extra sashing added.
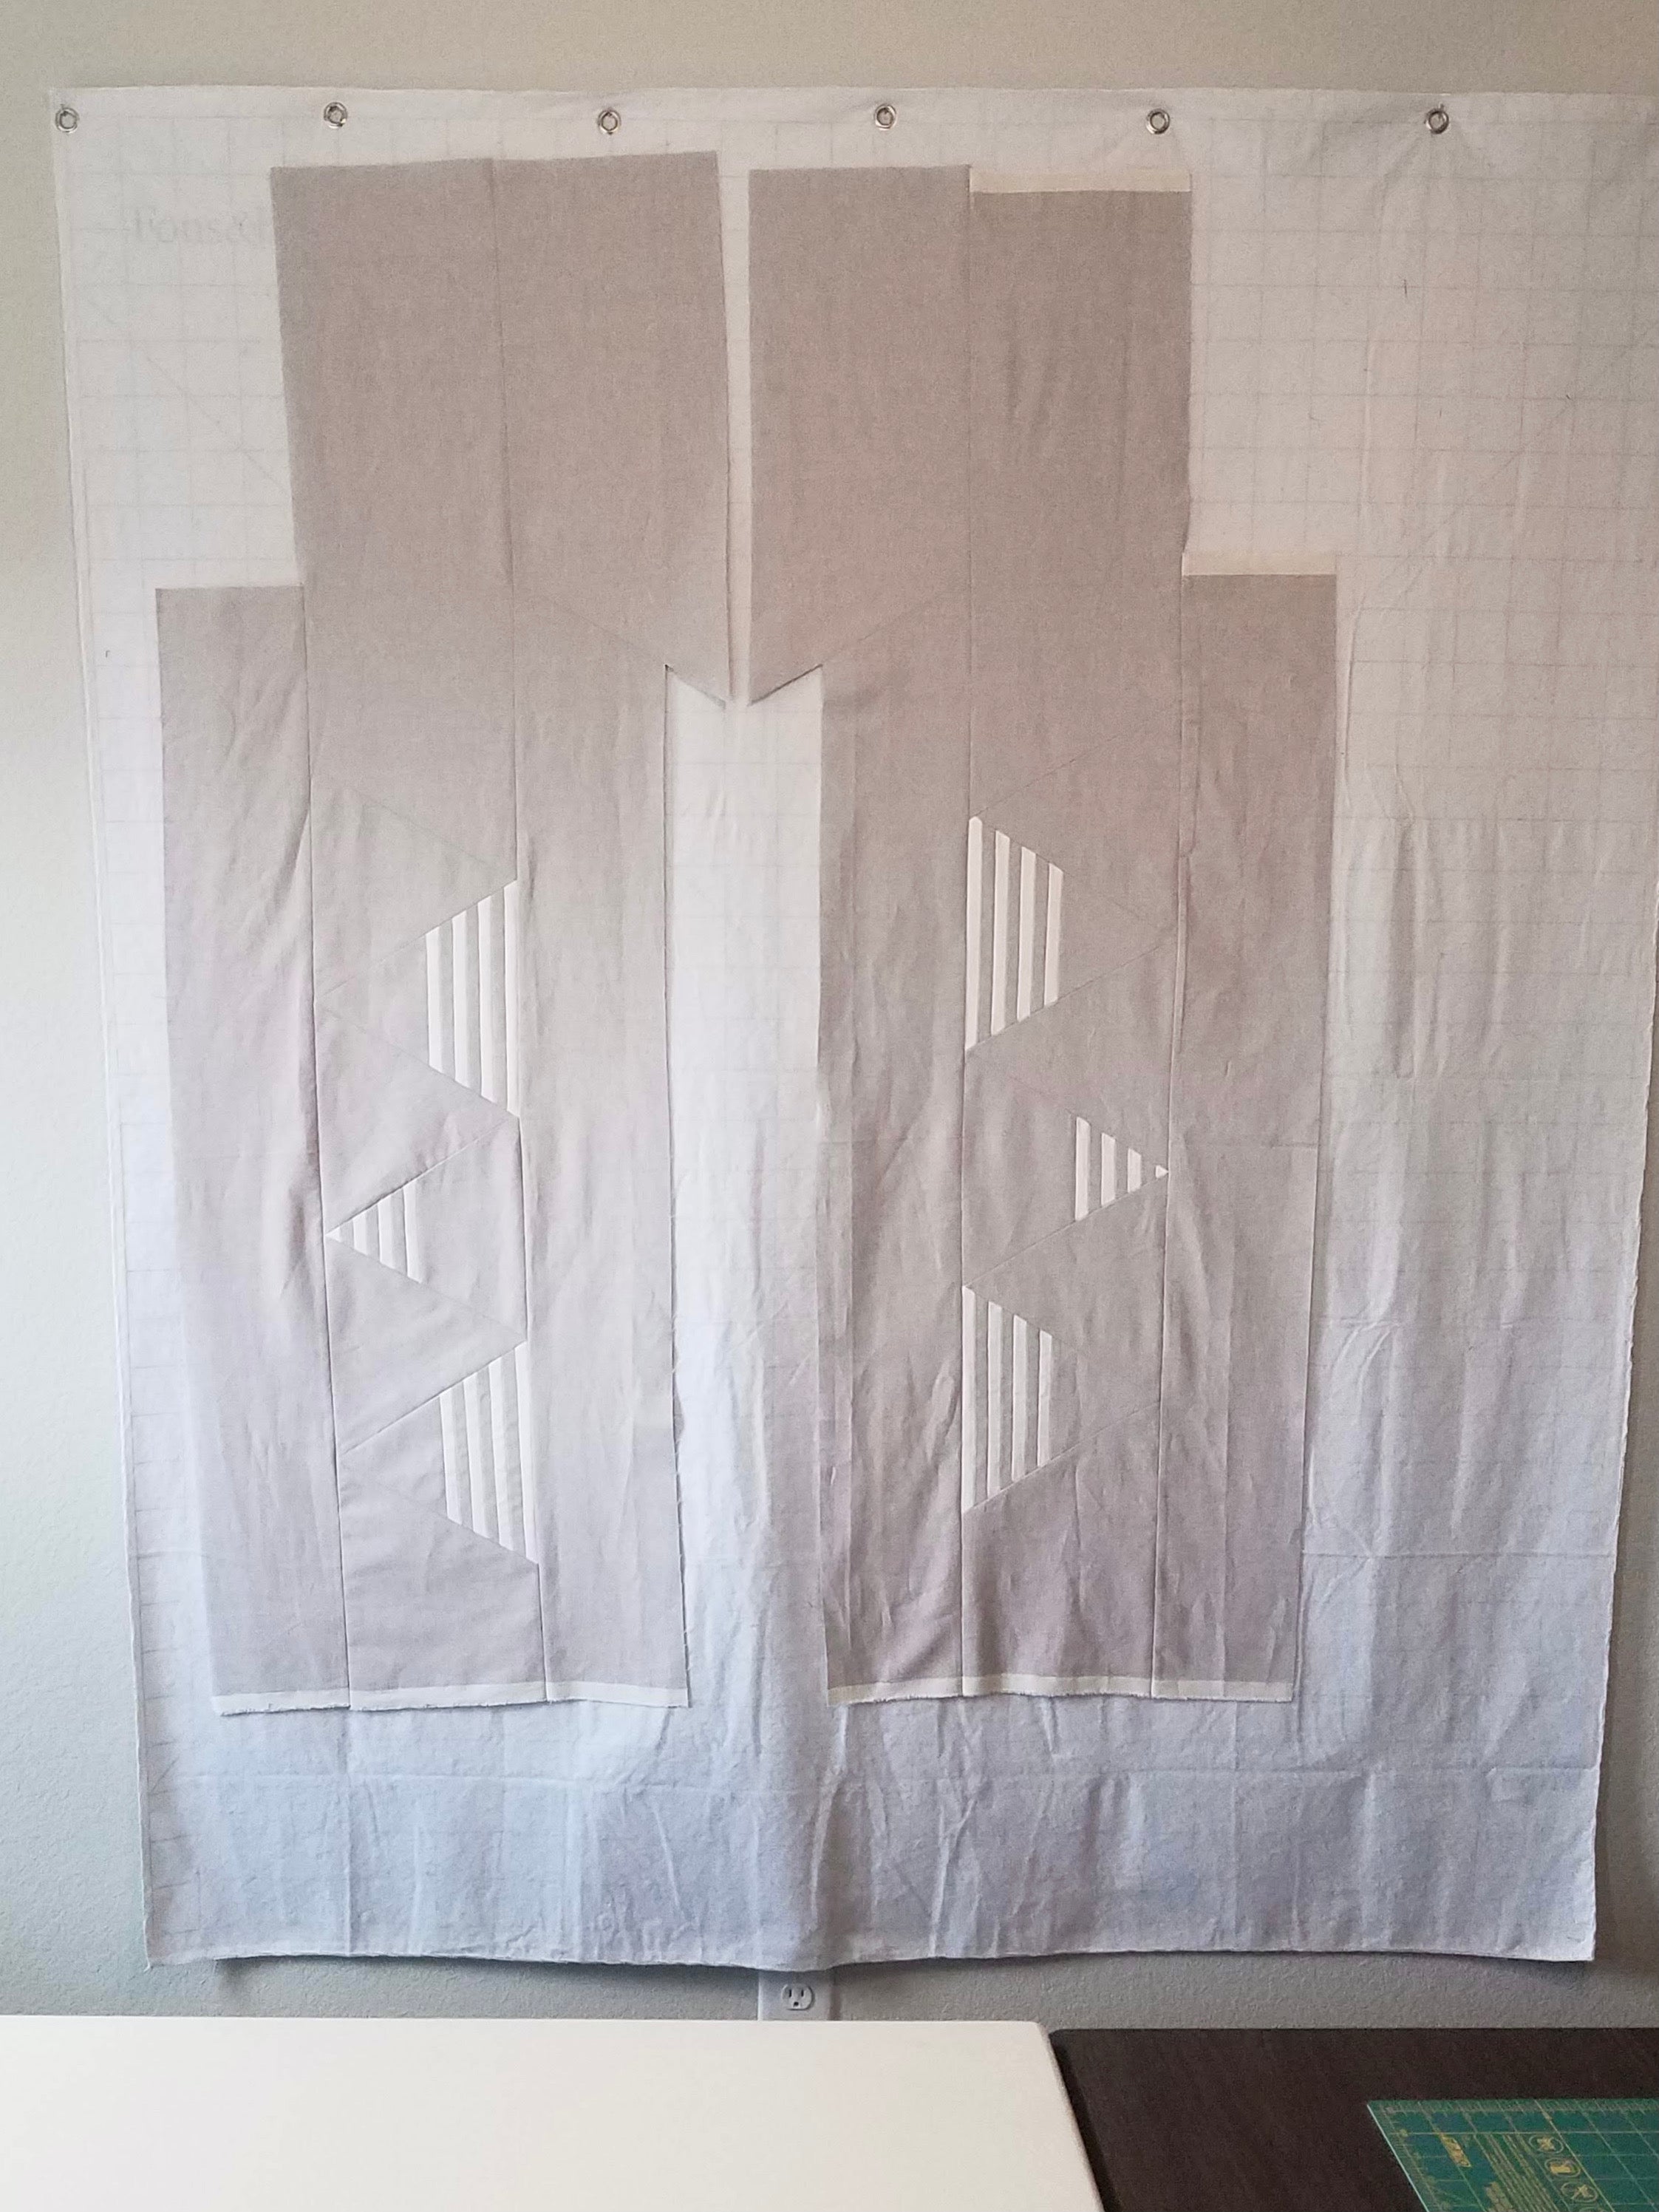
I even used the design wall to see the whole design and to make sure the orientation (right and left) was correct.
Back – this was on the fold and we needed a small adjustment in the width so I added a small sashing down the middle.
Once you have your coat pattern pieces it is time to plan your quilting design. I wanted to make sure that I could match the quilting at the seams so with the help of quilt designer, Amy, we decided on ½ half inch straight lines. You don't want to choose a quilting design that is too complicated or it won't match up at the seams when you assemble your jacket.
Baste and quilt your pieces just as you would in a quilt. I used a cotton batting and a muslin backing. I wanted to make the batting was secure inside the jacket. I made the sandwich with each piece and marked the lines with a hera marker before pinning. Then I pinned A LOT – I did not want any shifting!
I started the marking with the design in the triangles because they are already ½ inch apart.

For each piece of the coat I made the quilt sandwich, marked, then quilted them before moving on the next piece. This enabled me to compare to the remaining piece, make sure I had enough fabric and that the design was in the correct location.

I used lots of quilting pins!

Jacket front fully quilted – repeat with all pieces.
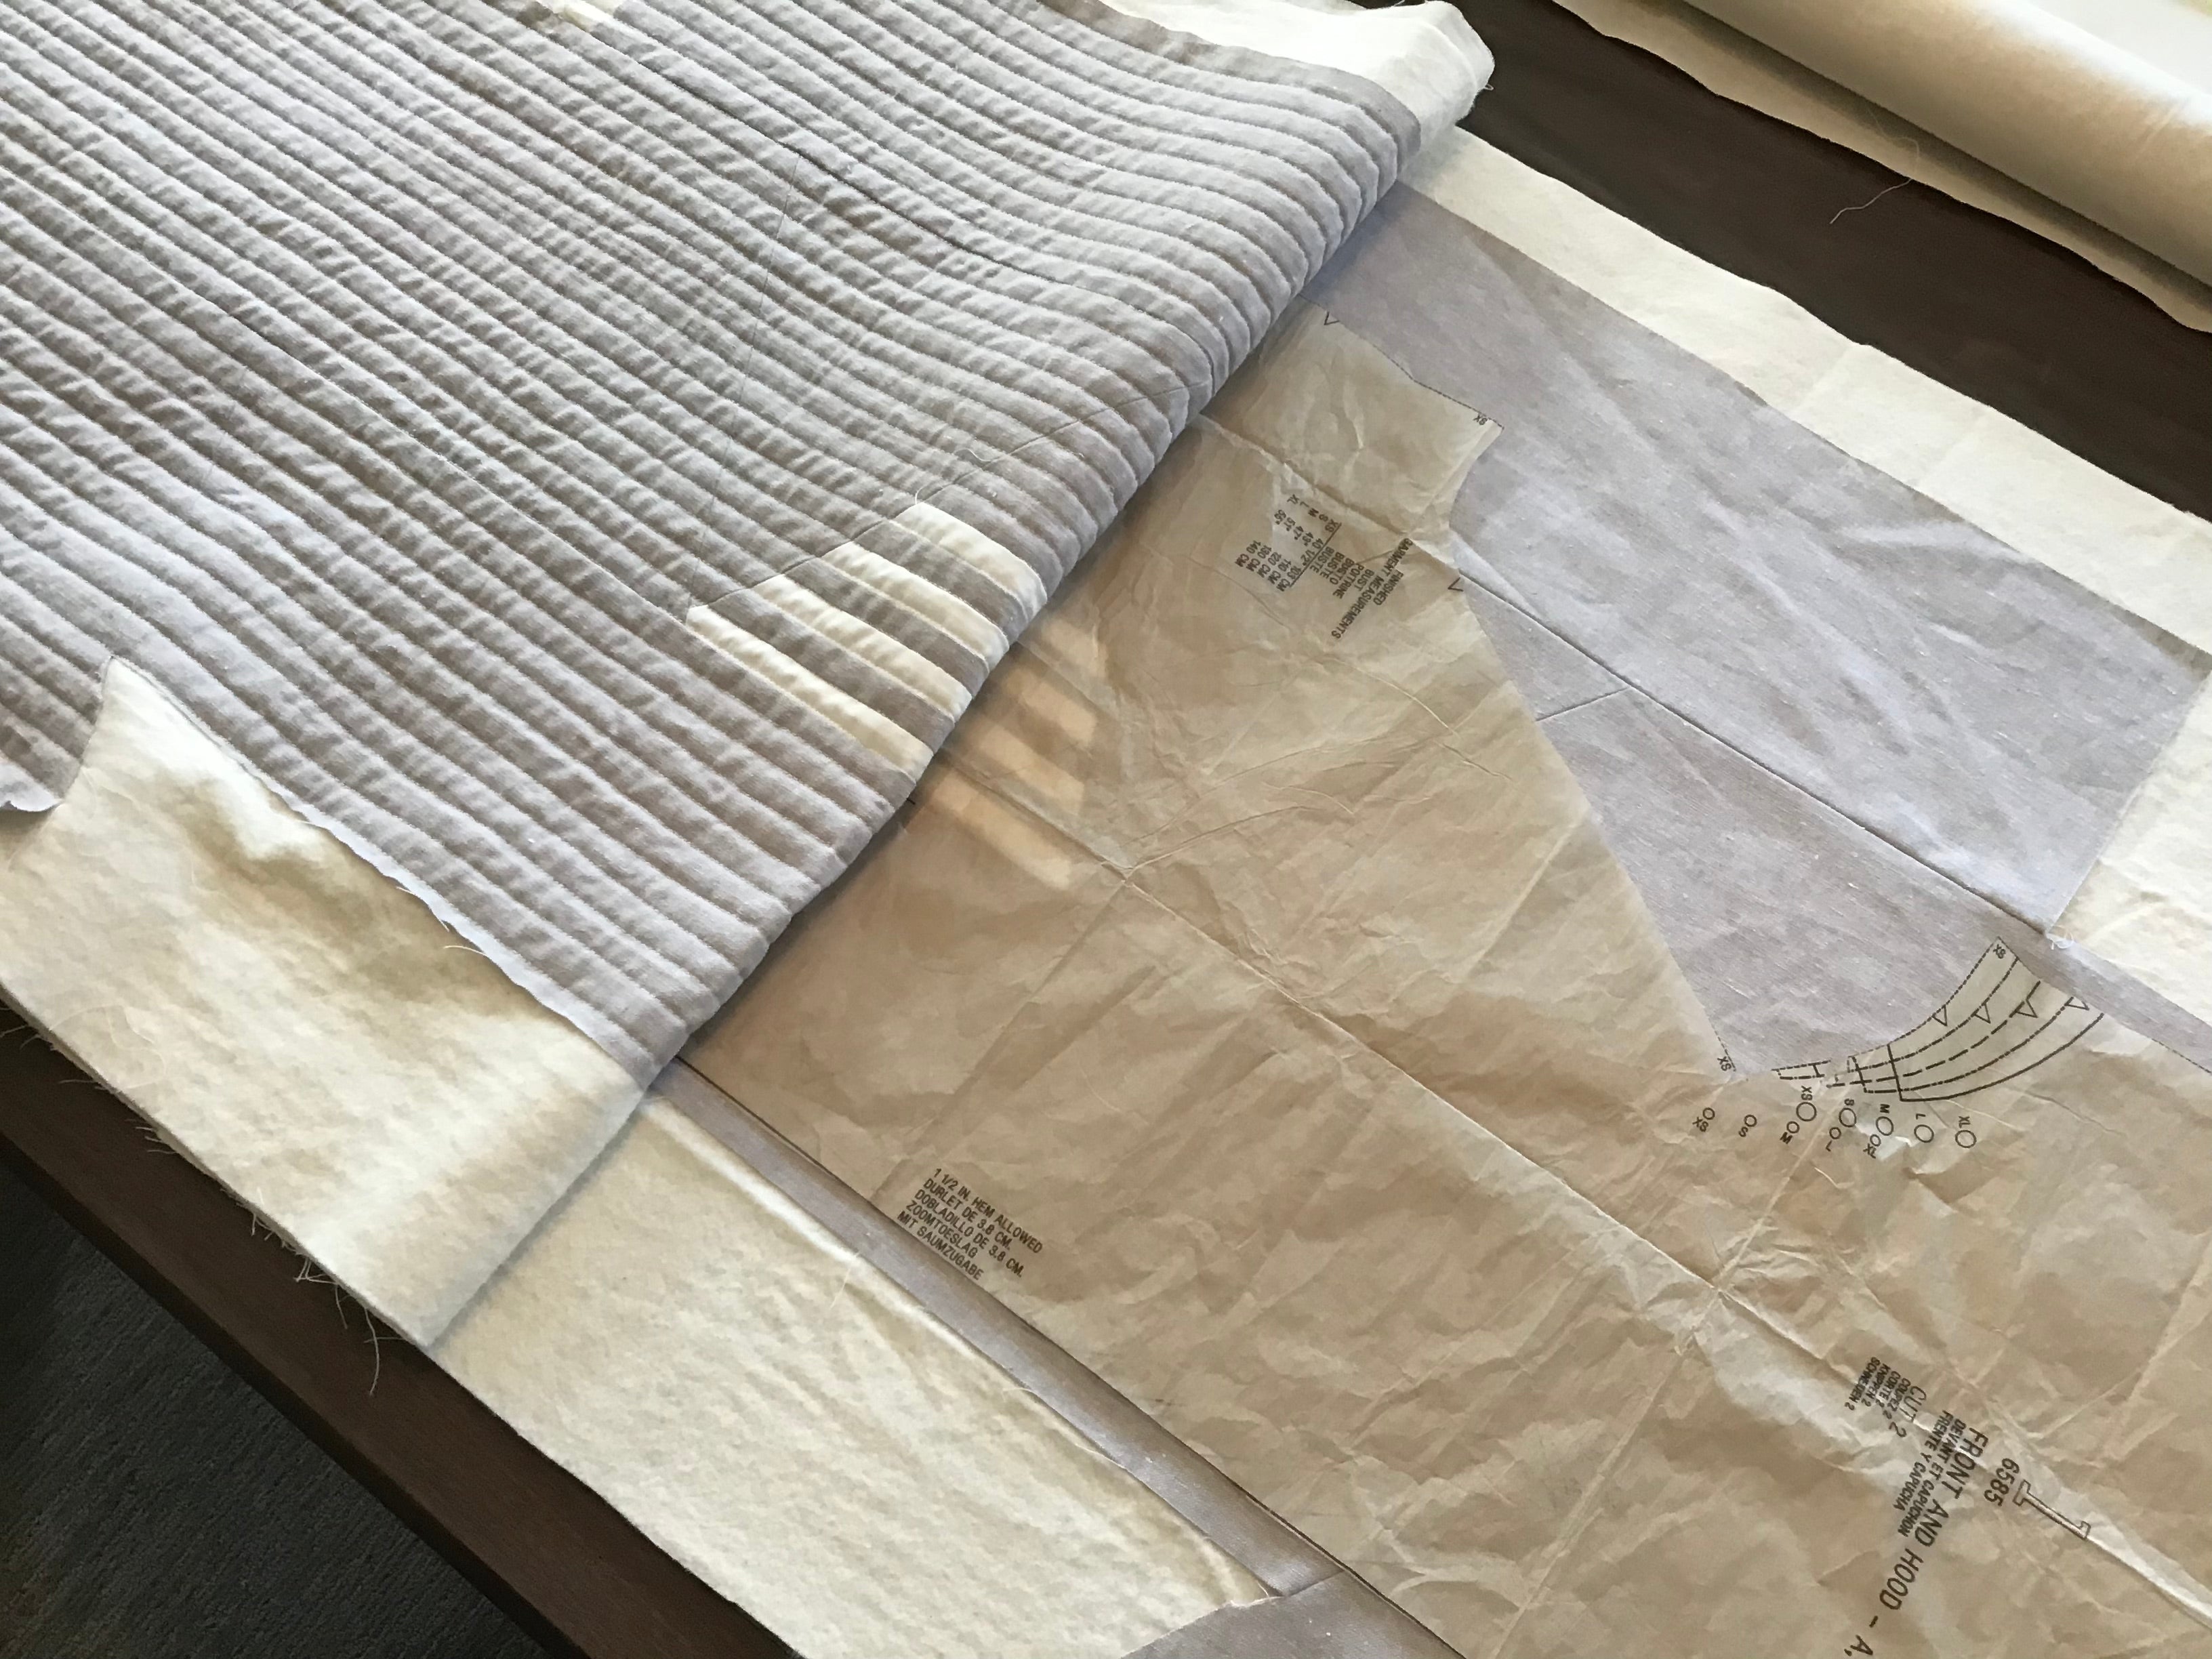
Now you are ready to cut your final coat pattern pieces out. Do this just as you would do when you have a single layer of fabric. Pin your pattern down, cut it out, and transfer any markings to the pattern.
For the back, since it was on the fold, I spread the entire piece out and cut one side. Then, folded it over to cut the second side.


I knew the quilting would align along the top of the jacket hood so I also laid the first piece on top of the uncut jacket piece to align the quilting before cutting.

Double checking the quilting aligns on the pieces of the hood.

For the lining, I made another jacket, turned it inside out and sewed it along the outer edge of the jacket.
To make turning easier I inserted an invisible zipper in the side seam. This was a heavy quilted jacket to turn and having the zipper gave plenty room without tearing the opening apart.


I whip stitched the lining to the sleeve edge, turned them up and ta-da – the jacket is finished!
If you make a quilt coat with one of the Sewn quilt patterns make sure you share it with me on Instagram! Tag @sewnhandmade so I can see your lovely work!
Happy sewing!
You might also like to read:
Free Playroom Quilted Pillow Pattern
Free Living Room Quilted Pillow
French Door Window Sheers

Beautiful coat!!
A few questions:
Why didn’t you wilt the lining with your quilt sandwich? Or was there fabric on the bottom too that we can’t see?
Lovely tutorial….would never have thought of an invisible zipper to aid in turning inside out. Very clever and beautiful work.
What size quilt did you make for the coat fabric, Queen?
Fabulous I love this style and have been debating whether to make one or not, looks great, plus clear instructions
Lovely, simply beautiful. You make it look easy and manageable. I’m very excited to try making this coat myself.