

Some of the links below are affiliate links, meaning, at no additional cost to you, I may earn a small commission from the sale if you click through and purchase.
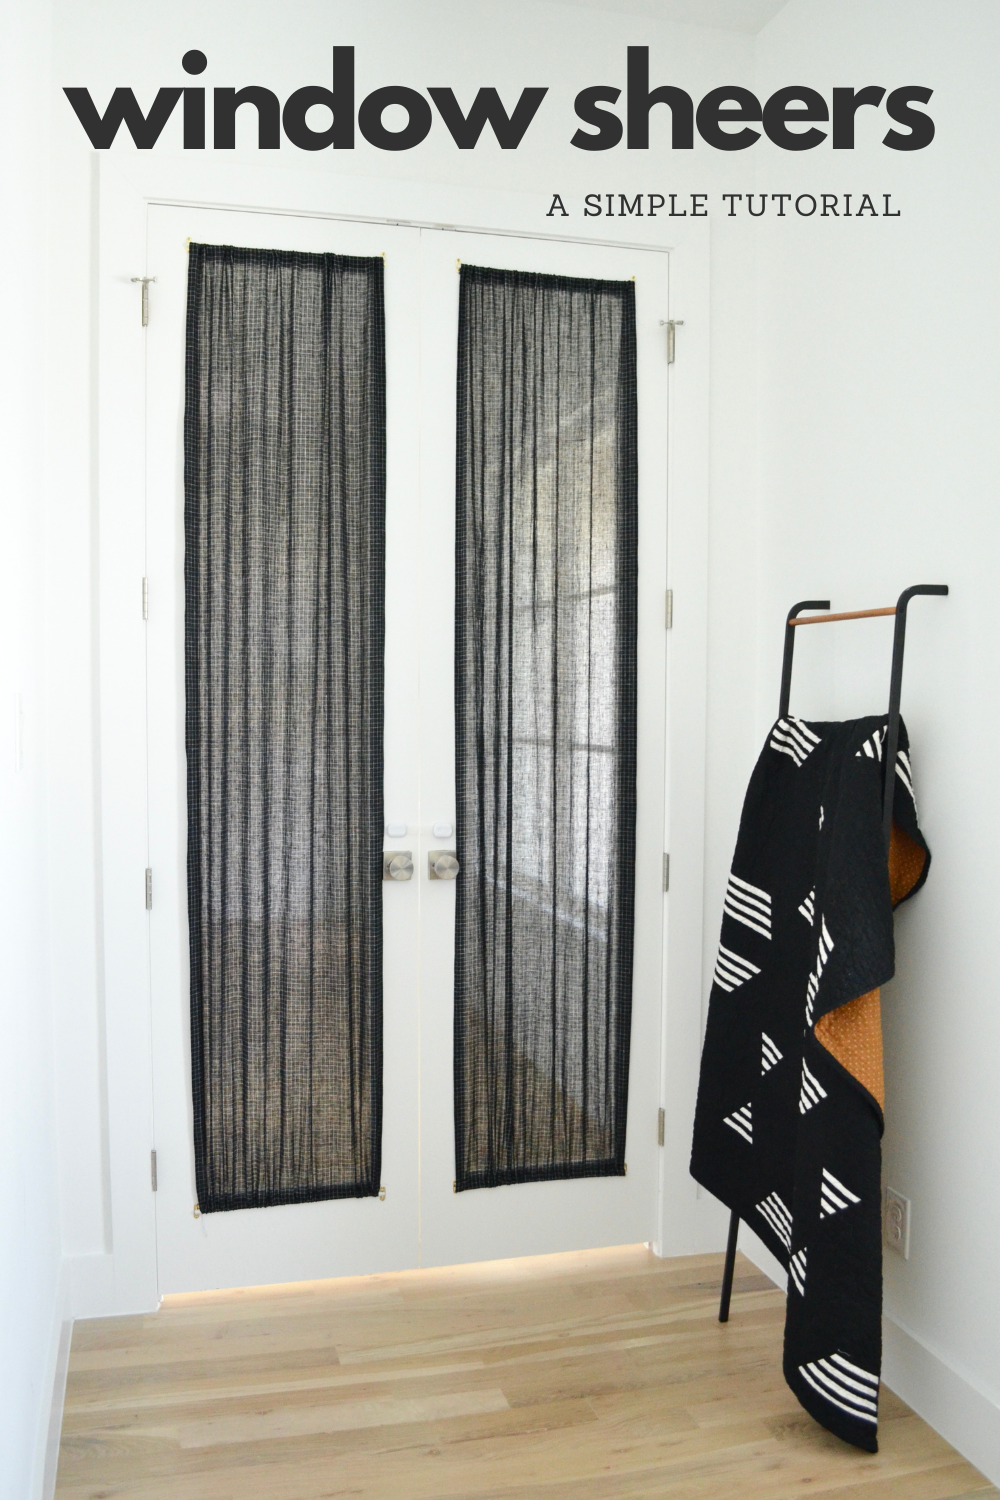
This tutorial takes a quick break from quilting to show you how I made these simple window sheers for our office.
My husband and I both work from home and our office has a pair of beautiful glass doors that let in a ton of natural light. However, with twin toddlers ruling the house - we needed a way to hide for now. If that doesn't paint the picture of this need - here is a visual illustration for you:

That sweaty handprint gets me every time!
Anyways, back to the tutorial. I ordered this great black and white woven from Black Bird Fabrics. It's sheer, so at least a little light can get through, but also dark so that they can't see us working in the office.
After you have your fabric make sure you order your hardware. This hardware works perfectly for fixed, gathered sheers on french doors. I ordered four of them, two for each door.
Start by measuring the glass area you are covering. Mine was 15 ¾" x 83" which worked perfectly for this fabric yardage. Fabric yardage typically approximately 42" folded in half and sold by the yard. So, I removed the selvage and then cut along the fold so that I had two pieces that were 3 yards by 21" wide.

Next, I created a finished edge on both the long sides of the fabric panels. Press each edge ¼" over and then another ¼" over. Sew along the edge to fix it down and create a finished edge. Do this for all four long sides.


To create a pocket for the rod along the top and bottom - press the edge over ¼". Then press this over 1". Make sure you are doing this on (what will be) the wrong side of the sheers. Sew along the edge to fix it down.


This pressing ruler is what you see pictured. Creating these pressed seams is a breeze with this tool!
I created the top rod pocket, hung the panels and then trimmed the bottom to the exact length before finishing off the bottom edge. This will help you make sure these are taught when finished. You want them taught so that the sheers scrunch up and stay close to the glass.
Hang your hardware. Thread your rods through the top and bottom pockets of your sheers and hang them up! So simple.
Another quick note - it's best to choose a fabric that has no wrong side like the woven I used. If you're putting these over glass then you want to make sure both sides look pretty.
You might also enjoy:
Quilt Studio Tour
Free Quilted Pillow Tutorial : Playroom Pillow
Free Quilted Pillow Tutorial: Living Room Pillow


Greate Article
These French door window sheers are stunning! Love how they add elegance and privacy—perfect inspiration for a chic home update