

Some of the links below are affiliate links, meaning, at no additional cost to you, I may earn a small commission from the sale if you click through and purchase.

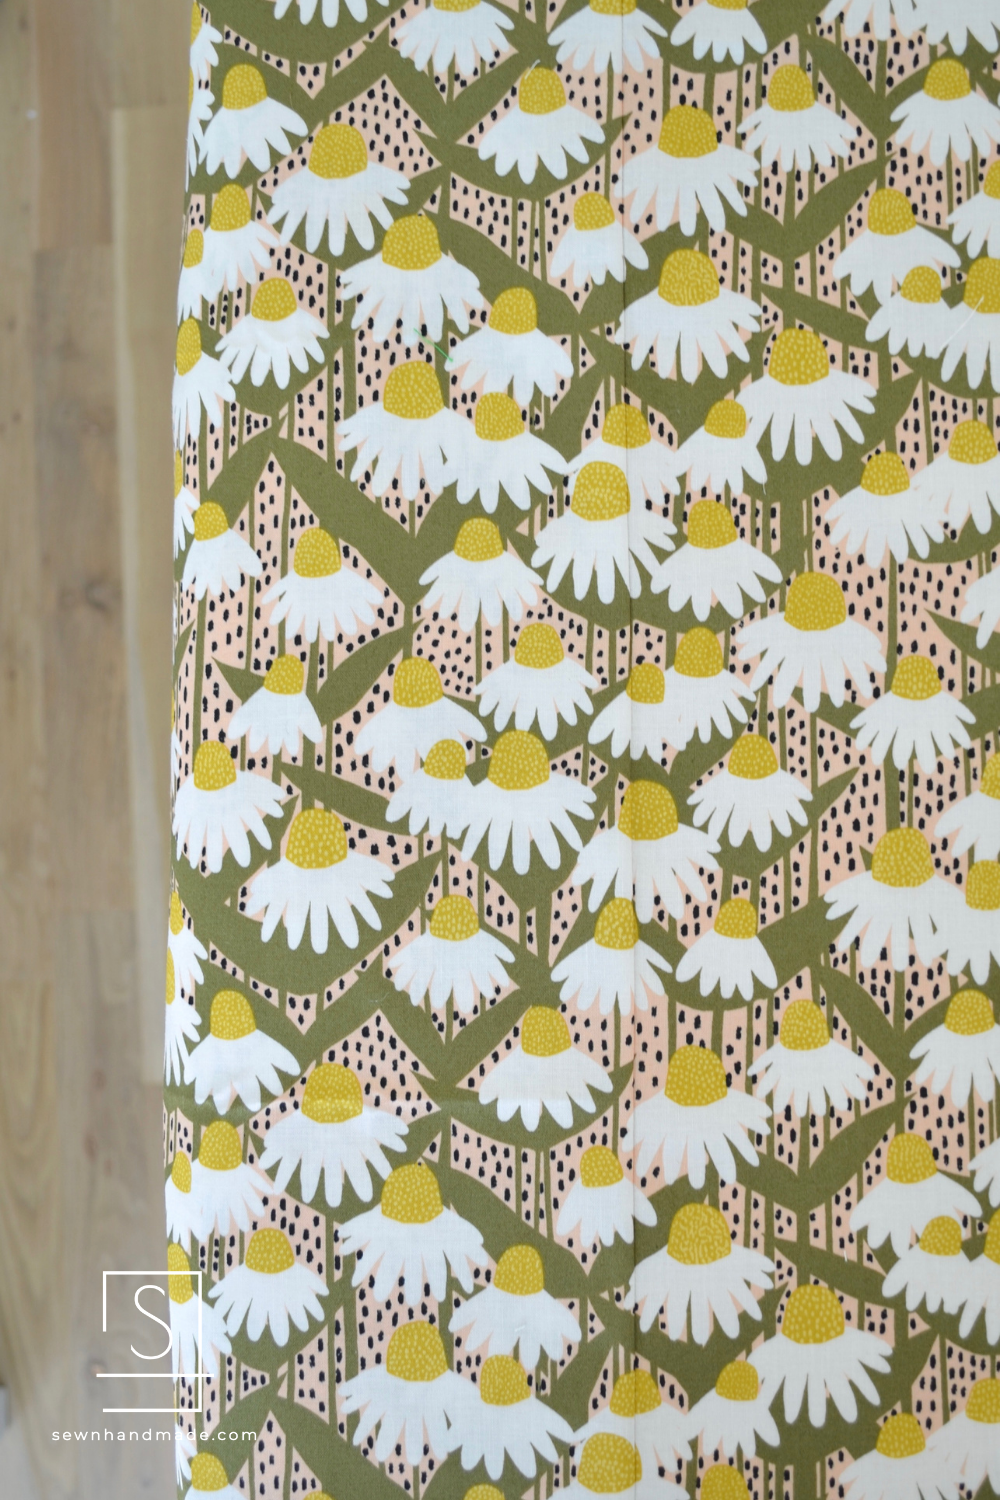
Until I made this Living Room Quilt - I had never tried matching the pattern on my backing to hide the seam. However, I really wanted to hide the seam on this one because... look at this gorgeous print! I didn't want any interruptions.
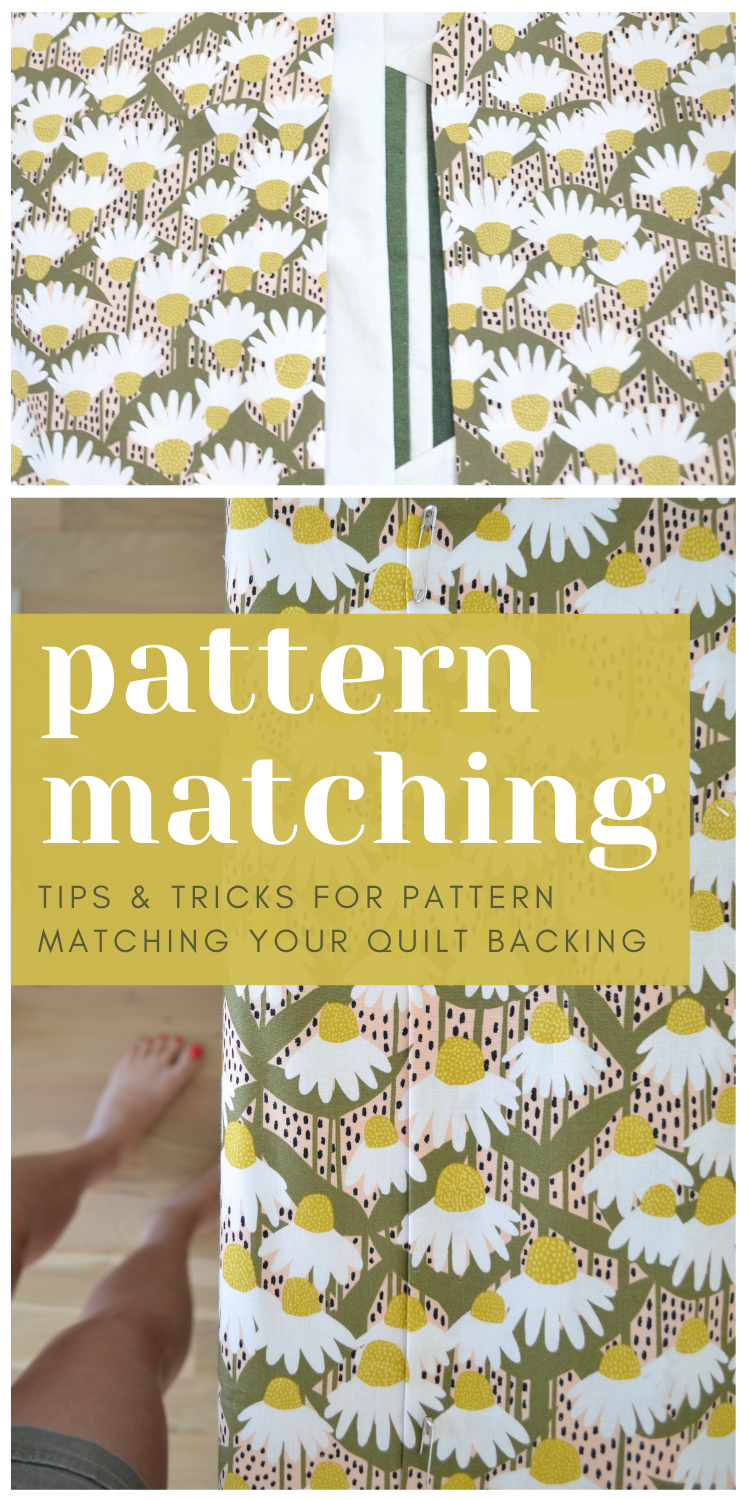
Just the other day I was trying to find the seam to show someone and it took me a long time to find it. Here's how I did it...
Note: If you have already purchased your backing and you did not order extra you may want to lay it out with your quilt top to confirm you have enough. When you are pattern matching you will need to order extra length to account for the overlap you will be trimming off when you are lining up your repeat. If you haven't order yet - throw in a few more inches so you have plenty of room to adjust.
1. Start by trimming off the selvage edge.
Get this step out of the way so you have nice clean edges to work with.

2. Press your fabric.
You want to have crips, clean edges and fabric pieces to work with.

3. Fold one of the edges down and press at 1".
Along one of the long edges where you plan to align your repeat, fold the edge over by 1" and press. I use this handy little ruler that is made for pressing! It's a lifesaver.

4. Align the repeat.
Ok, this is the tricky bit. I lay the piece of fabric with the raw edge (right side facing up) along my ironing board or the floor. Then, I place the piece with the pressed edge over the top and scoot it across the fabric until I find the repeat that aligns.
For this particular print I actually had to shift the top fabric down the fabric and also over to the left 2-3" until I found the repeat that aligned. So the outside edges were offset by a few inches. This is also why you need to lay your quilt top out and make sure you have the length AND width to pattern match. You may not always have to do that but if you are having trouble finding a repeat that might be why.
Fabric with a large scale pattern sometimes use a half-drop repeat which require much more yardage to make this work.

5. Glue and heat set.
Once you have the fabric lined up you will need to use some temporary fabric glue to temporarily attach the two pieces. I used good ole fashion Elmers but you can use any glue that will wash out later.
I also found it useful to pin the piece in a couple places as I moved along the edge. My pieces were pretty large and the weight was pulling them apart. This is why the floor is a better option because you aren't fighting gravity.

6. Sew along the pressed line.
Once you feel confident in the pieces being attached - flip the top pieces over so that the two are right sides together. (If you pinned you will have to remove those before you do this step. The glue should be dried and holding well enough at this point though!) Sew along that pressed edge that you made earlier.

7. Press and trim!
You can open up your two pieces to check that your repeat is aligned and everything looks great. Then, trim away the excess fabric and press open. You're ready to baste your quilt! Go you!
Share you backing with me on Instagram if you found this tutorial helpful! Good luck!!
Here are a few more blog posts you might enjoy:
Quilt Binding Five Ways
A Guide for Beginner Quilters
Half Square Triangles


I always match my fabric patterns coming from initially garment making. If your pattern on the fabric is a 12 inch repeat then you would need at least 12 inches to do this. If it is 24 inches, then you will need almost 1 yard extra. But it gives the quilt back a seamless, professional look. It is well worth going the extra effort to make this a professional look. But glue? I would be careful as that can ruin the needle. and drag the glue into the machine. Basting tape, not on the stitching line, that is washable, but I use pins only with success.
Hi! Great tutorial! Wondering what the name of this fabric is? It is so gorgeous.
Thanks!
I am a beginner and up to pattern matching my glorious backing fabric.
THIS tutorial is so clear, concise and understandable for me!
Thank you so very much for making what seems like a scary job not so scary!
Great instructions, very clear going to try this. Thanks
Excellent tutorial! I always eye-balled it and hoped for the best! I will definitely try this!