

Some of the links below are affiliate links, meaning, at no additional cost to you, I may earn a small commission from the sale if you click through and purchase.
This historical quilt block is a staple in the quilting world. Throughout my time making these blocks I have learned a few tips to make them a little easier and also more accurate.
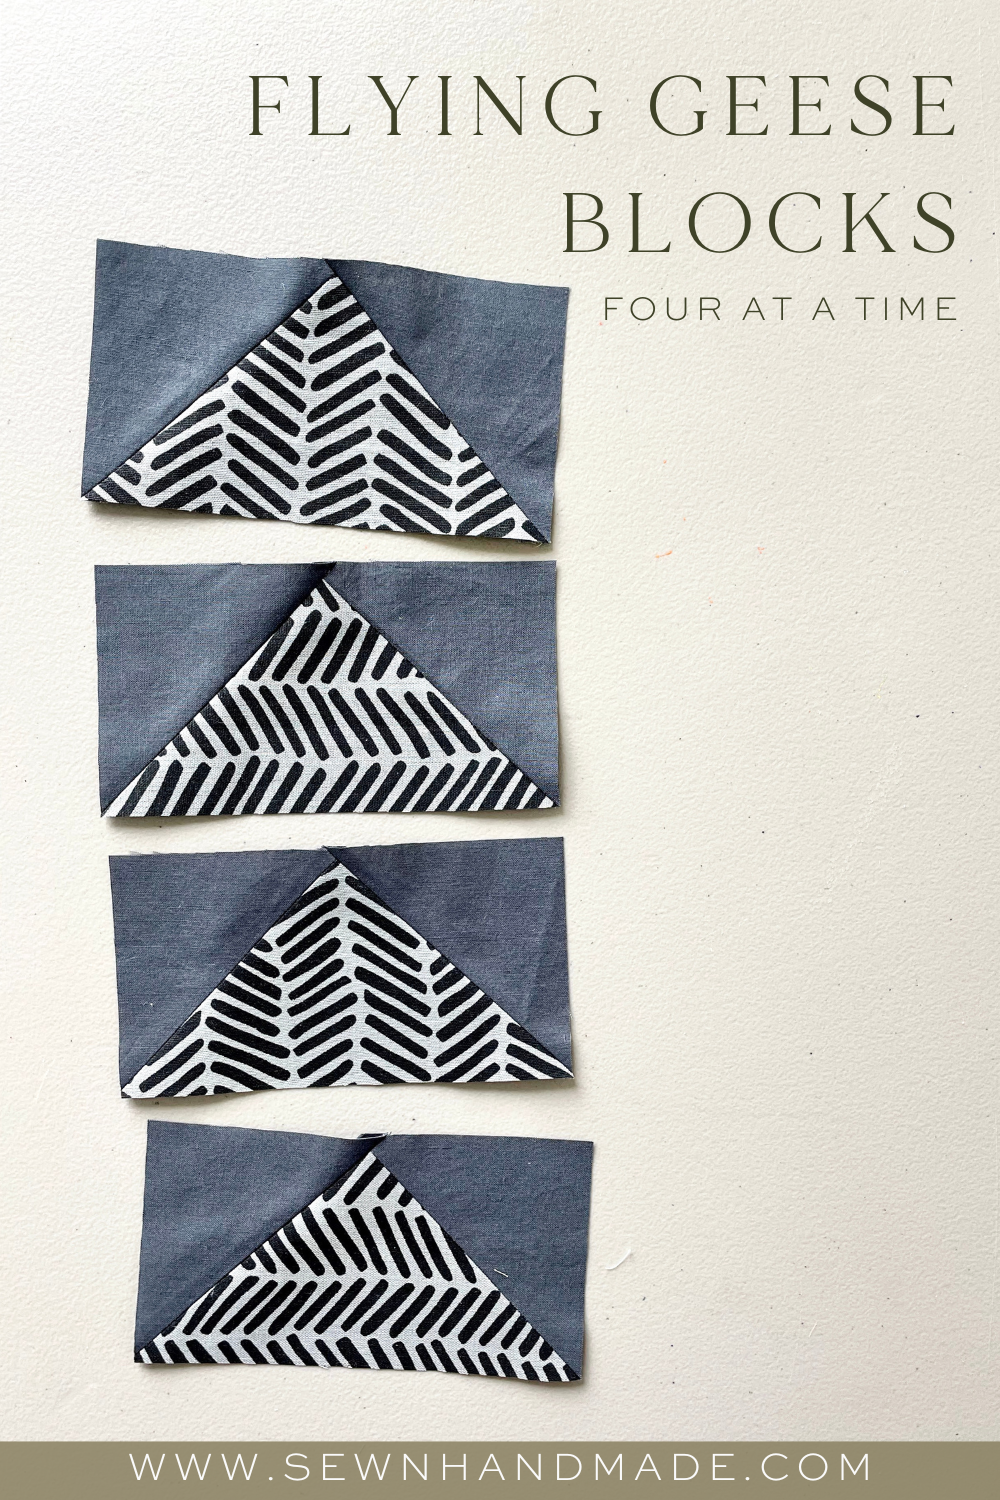
Today I am sharing these tips through the four-at-a-time method which is also used in the Bedroom Quilt Pattern. Ready to get started?!
Starting with your fabric - you will need one 7 ½" x 7 ½" square and four 4" x 4" squares in order to make a flying geese quilt block that is 3 ½" x 6 ½". When sewn into your quilt that means the block will finish at 3" x 6".

Tip 1:
You will need to mark a diagonal line across the 4" squares from corner to corner. You can use a temporary marker, pen or hera but my favorite way is pressing. I feel like it's faster and I can see the line much better. Plus I really do not like to mark on my fabric because I simple don't trust the temporary pens to disappear and stay gone. I have had some of them come back over time!

Once marked you will pin two 4" squares to each corner of your 7 ½" square (right sides together if you are using two prints).

Using ¼" seam allowance - sew on either side of the pressed line. DO NOT sew on the pressed line. Remove your pins as you go.


Now you will cut on the pressed line to create two halves as shown below.

Tip 2:
Press your seams open! I have tried pressing to the darker fabric and I felt like it made bulkier seams down the road.

Next, pin a 4" square to each of those two pieces as shown. You can just use a single pin and remove it as you go.

Sew ¼" on either side of these pieces just as you did before.

Then cut along the pressed line again like you did previously. You will now have four pieces. (Almost there!)

Tip 3:
Press your seams open again! Ok maybe that's not technically a new tip since its the same as tip 2, but it just goes to show how strongly I feel about it. I needed to say it twice!

Tip 4:
Onto the trimming. This step is very important! Some people try to skip right over this, but it will effect your finished quilt if you skip it. So, maybe that is my tip - don't skip trimming!
Before you cut make sure you ruler is aligned in all the right places. The first photo shows the ¼" you need to leave at the point. The second shows how you need to align the bottom of the block so that the flying geese block is centered. Make sure those bottom corners are hitting at the same place on each side of the ruler.
It's ok if those two bottom points are lining up exactly in the corner of your ruler as long as they are at least hitting in the same spot on either side. The goal here is a straight and level flying geese block.


Don't forget to trim off these little bit too!

And just like that - YOU'RE DONE! You made four flying geese blocks. Go you!
See how the seams lay so pretty and flat on the back. (Insert all the heart eye emojis here!)

Now if you want to keep practicing try the Bedroom Quilt Pattern. (Available May 7th!)

You might also enjoy these blog posts:
Curved Quilting Tutorial
Eight at a Time Half-Square Triangles
Pattern Matching Your Quilt Backing
I agree with Kirsten above, that ruler is great. There are many ways to make fly geese depending on how you want your project to look. I think making multiples just to be fast is one way. But personally you should be mindful of directional fabrics, both for the center triangle as well as the wings. As you note the backing should match in definite design, flying geese and HST should as well, in my opinion.
I definitely prefer this method of making flying geese over the individual one, however, my absolute favourite is the quilt in a day ruler for flying geese. I’ve made geese this way as many times as I can because they always come out perfect!